

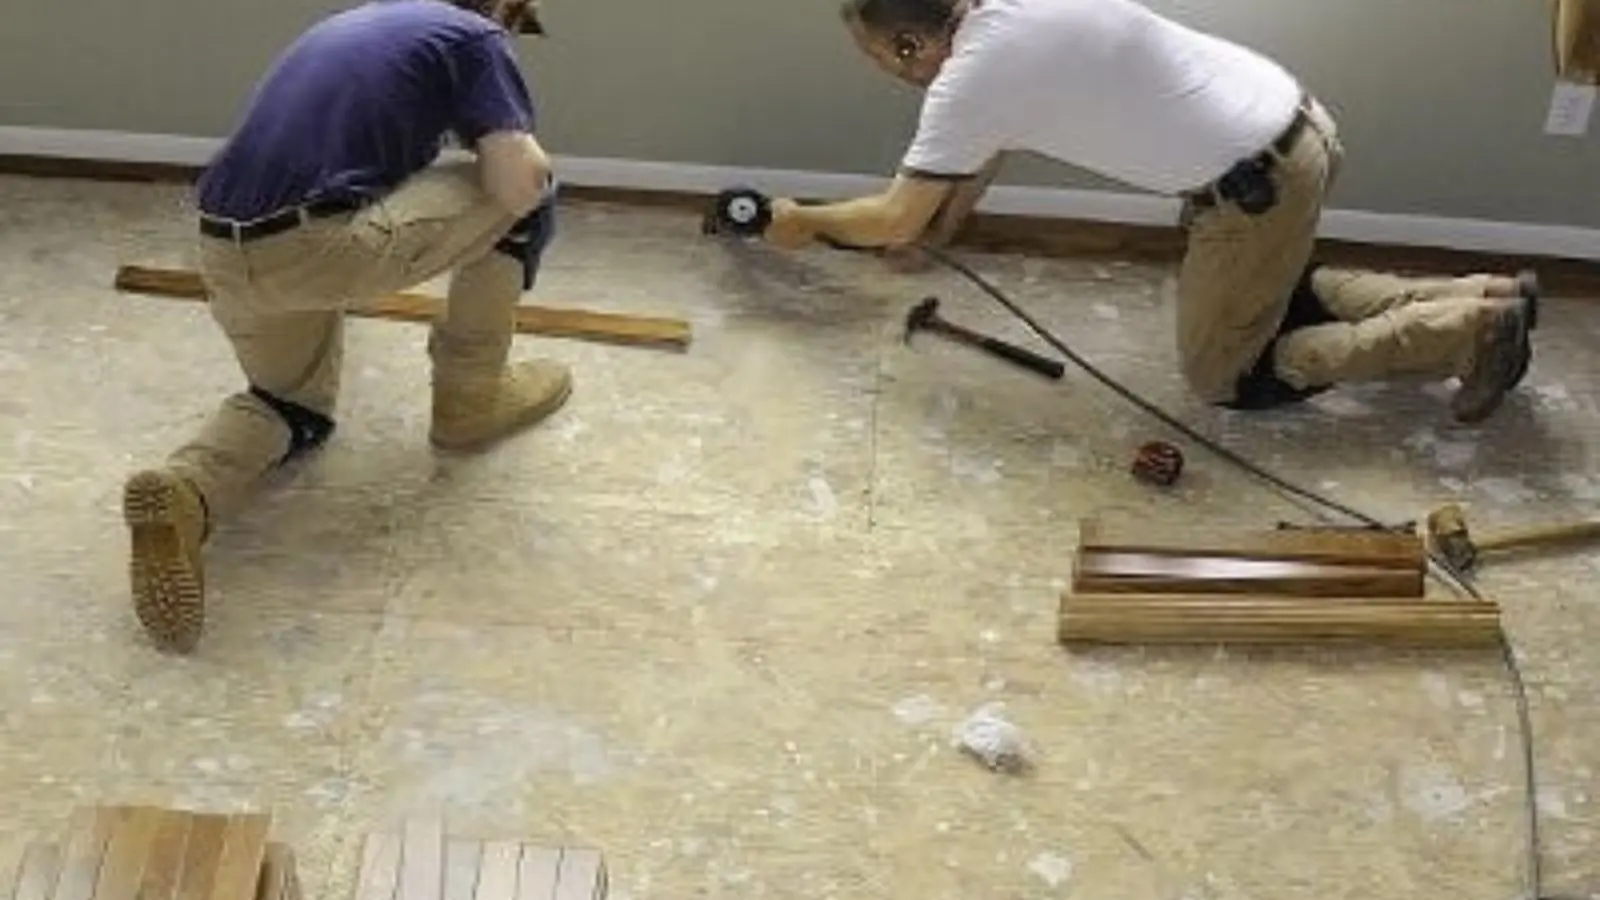
What water damage repair covers once the house is dry
Water damage repair in La Verne, CA is the rebuilding stage after drying: replacing or restoring drywall, insulation, flooring, trim and paint that water has ruined. It should start only after moisture meters show the framing and subfloor are back to normal readings.
Closing a wall over damp framing traps moisture and invites a second repair. If your home is still wet, the water mitigation stage comes first.
Signs your home needs repair, not just drying
Dry air does not fix materials that have already failed.
Look for these
- Drywall that is soft, bulging, cracked along seams or stained in rings
- Ceiling paint that bubbles, sags or shows a brown stain that keeps returning
- Baseboards that have swollen or pulled away from the wall
- Hardwood boards with raised edges, gaps or a wavy surface
Safety checks before you start any repair
Check these first
- Confirm the water source is fixed and the supply is back on without new drips.
- Keep power off to any circuit that serves a wet area until an electrician or the crew says it is safe.
- Do not close up walls, lay flooring or paint until moisture readings show the framing and subfloor are dry.
- Wear gloves, eye protection and a mask rated for dust when you cut or pull wet drywall and insulation.
- Treat anything touched by sewage or outdoor flood water as contaminated and leave it for trained crews.
- Photograph the damage and keep damaged materials until your insurer has had a chance to inspect, if you plan to file a claim.
Where repair jobs usually start in foothill homes
Most repair calls trace back to a failed supply line, a water heater connection, a washing machine hose, a roof leak after rain, or a backed-up air conditioner drain line. The cause sets the scope. A sudden burst soaks nearby rooms evenly, while a slow leak inside a wall can rot a bottom plate before anyone sees it.
How a repair job moves from wet to finished
- 1
Confirm the structure is dry
Crews take moisture meter readings in framing, subfloor and drywall, and scan with a thermal camera for hidden wet spots.
- 2
Define the scope
Materials that cannot be saved are marked for removal and the rebuild list is written room by room.
- 3
Remove and rebuild
Damaged drywall, insulation and flooring come out, framing is checked, and new materials go in. Some jobs need permits, so ask your city building department.
- 4
Finish and walk through
Texture, primer, paint, trim and flooring are completed, then you inspect and flag anything to correct.
Ceiling and Wall Water Damage Repair
A stained ceiling or wall is a symptom, so the first question is whether the water source is fixed and the cavity above or behind it is dry. A thermal camera and a pin or pinless moisture meter show how far the wet area really runs, and it is usually larger than the stain.
Small, dry stains can often be sealed with a stain-blocking primer and repainted. Wet or sagging drywall has to be cut out, and the cut is typically made past the damaged zone to reach sound material. Insulation behind it is replaced if it is wet, since compressed insulation holds moisture and loses most of its value.
New drywall is taped, mudded, sanded, textured to match and primed before paint. Matching texture is where repairs look patched, and painting a ceiling corner to corner hides the work better than spot painting.
Water that came through a ceiling may also have reached a light fixture or exhaust fan. Leave that circuit off until a licensed electrician has checked it.
Hardwood floor cupping and drying
Cupping happens when the bottom of a board absorbs moisture faster than the top, so the edges rise and the center dips. Wood gives that water back slowly, which is why drying hardwood is measured in days or weeks, not hours. A flat-looking board can still read wet on a meter.
Crews often use specialty mats and air movers to pull moisture from below, with LGR dehumidifiers controlling the room. Sanding too early is a costly error, since boards that look flat can still be wet and will cup again. Mild cupping may flatten enough to refinish once readings settle, but buckled boards or ones that separated from the subfloor usually mean replacement.
Ask the crew for readings taken at the start and at the end of drying, and wait for the subfloor to match the wood before any sanding is scheduled, so the finish is not applied over trapped moisture.
Repair options and their trade-offs
The right fix depends on how wet the material got and for how long.
| Option | Best when | Trade-off |
|---|---|---|
| Seal and repaint | Dry, small stain with the leak fixed | Cheapest route, but a hidden wet spot will bleed through again |
| Patch and texture drywall | Localized damage on a wall or ceiling | Texture matching takes skill and may need a full-wall repaint |
| Replace drywall and insulation | Soft, sagging or long-wet sections | More dust and more days, but removes the damaged material for good |
Ask for the scope in writing so you can compare it line by line.
Call the 24/7 line and describe the damage. We can explain what likely needs replacing and what can be dried and saved.
What changes the cost of water damage repair
No honest price comes from a phone description alone, but these factors explain most differences between quotes.
| Factor | What changes it |
|---|---|
| Water category | Clean supply water is easier to repair than gray or sewage water, which forces more material out |
| Affected area | Square footage, number of rooms and whether the ceiling, wall and floor were all hit |
| Materials | Basic drywall costs less than custom cabinets, stone, real hardwood or specialty trim |
| Drying days and equipment | Longer drying means more equipment time, and slow-drying materials extend the schedule |
| Rebuild scope | Paint only versus new framing, insulation, texture, flooring and permits |
Costs are explained after the crew sees the damage.
Documents to gather before repairs begin
California's Department of Insurance advises that you not discard damaged items or make extensive permanent repairs before the adjuster has had a chance to inspect.
Insurance checklist
- Report the loss to your insurer promptly and note the date and person you spoke with
- Photograph damage in every room before anything is moved
- List damaged items with age and approximate value
- Keep receipts for emergency steps such as drying or temporary protection
Water and home value in La Verne
The City of La Verne supplies about 24% local groundwater from city wells and about 76% purchased from Three Valleys Municipal Water District. The 2025 water quality report lists city groundwater hardness at 351.7 ppm as calcium carbonate (range 290 to 450) versus 97 ppm for the district water.
Hard water leaves mineral scale on fittings and inside appliances, so older shutoff valves and water heater connections are worth inspecting during a repair.
Source: City of La Verne 2025 Water Quality Report and U.S. Census Bureau QuickFacts, La Verne city, 2020 to 2024 figures.
Choosing who rebuilds your home
California requires a contractor license when a job totals $1,000 or more in labor and materials, or when it needs a permit. Check any contractor's license on the CSLB website before signing, and ask whether their crews work to the ANSI/IICRC S500 water damage standard.
We dispatch licensed and insured restoration professionals to La Verne and nearby towns such as San Dimas and Pomona. If mold shows up in an opened wall, see mold remediation, or browse every service.
Water damage repair questions from La Verne homeowners
Wait until moisture readings confirm the structure is dry, often a few days depending on materials and conditions. Thick framing or hardwood can take longer.
Only if the source is fixed and the area above is dry. Paint over a damp ceiling and the stain usually returns while the drywall keeps deteriorating out of sight. Check with a moisture meter first.
Sometimes, if the moisture source is gone and the boards dry slowly and evenly. Wait for stable readings before sanding. Buckled boards or boards that separated from the subfloor are more likely to be replaced.
It depends on the work. Simple drywall and paint often do not, but structural, electrical or plumbing changes may. Ask your city building department.
Protect the property and keep receipts, but avoid extensive permanent repairs or discarding damaged items until the adjuster has inspected. Photograph everything.
If mold is found, it is handled as its own step before the wall is closed. If long-term leakage is suspected, talk to your adjuster first.